

You will need:

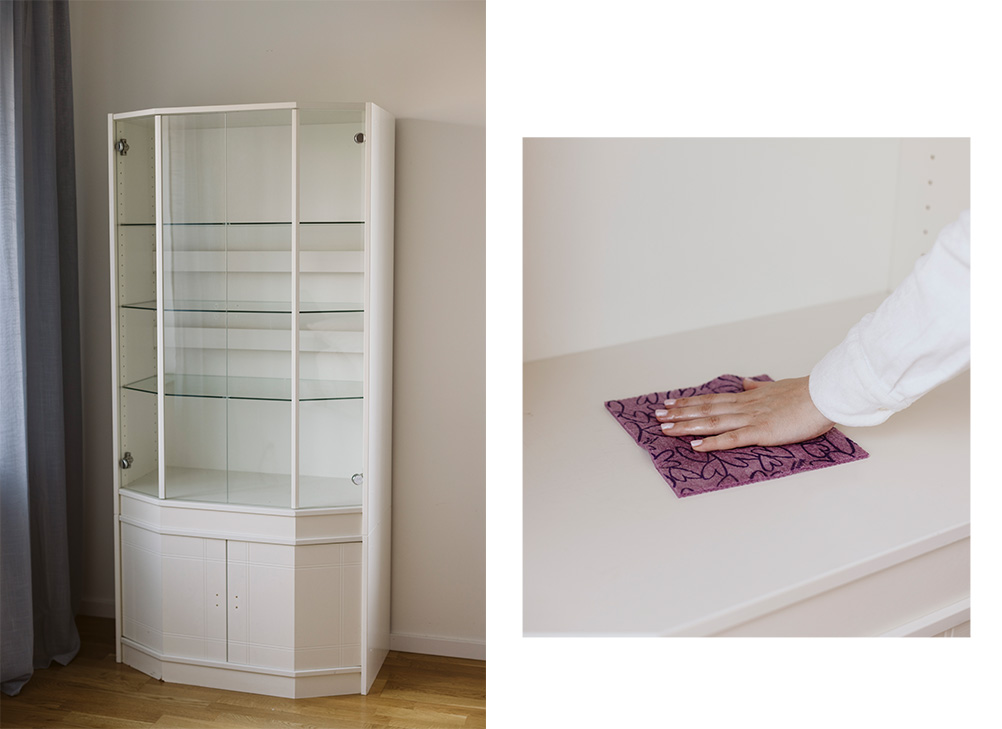
Step 1: Clean the cabinet thoroughly
Before you start painting, it is important to clean your old furniture properly. Wipe the surfaces with a damp cloth and use a grease-cutting cleaning product to remove dirt, dust, and any grease stains. This step is crucial for the paint to adhere properly and provide an even result.
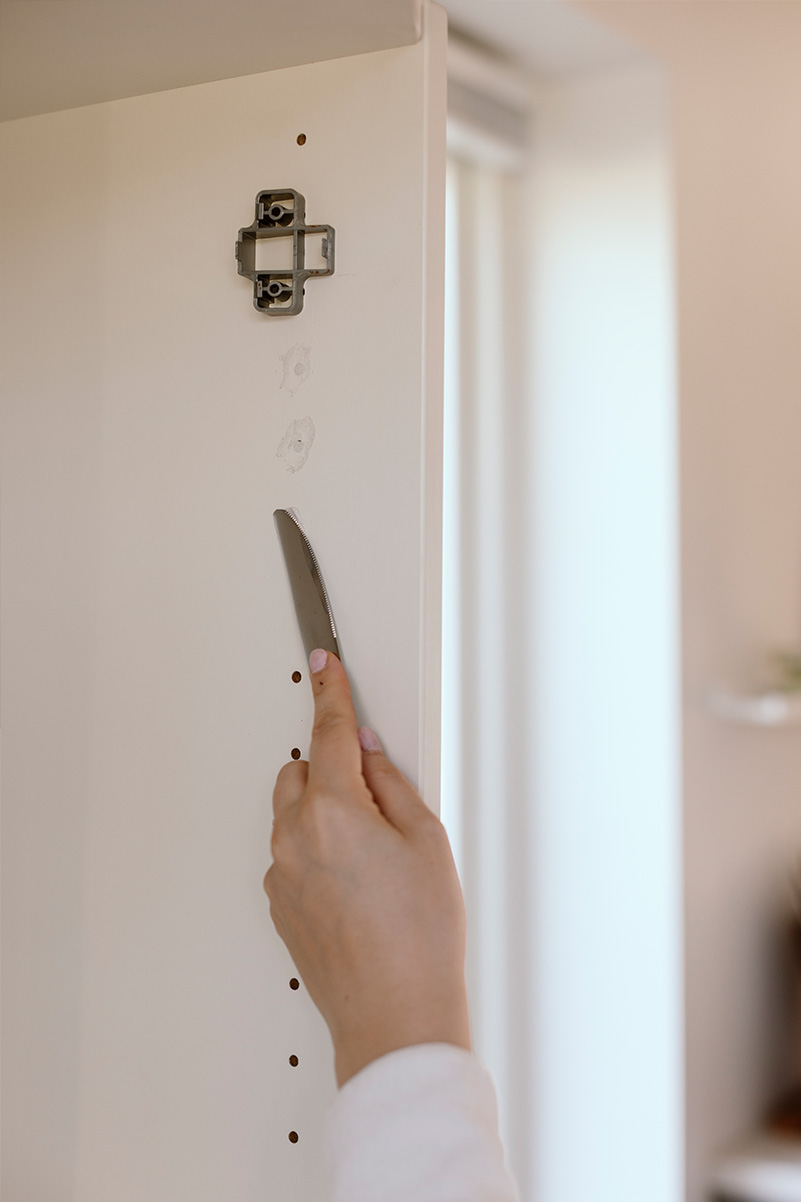
Step 2: Remove old knobs and fill the holes
Unscrew the old knobs or handles from the furniture. If you plan to place your new knobs in a different location than the old ones, you will need to fill the holes with wood filler. Once the filler has dried, sand the surface smooth with fine sandpaper. This will make the surface even and ready for the next step.
Step 3: Paint with a primer for the best results
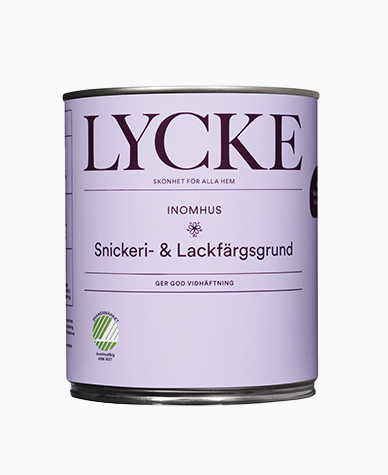
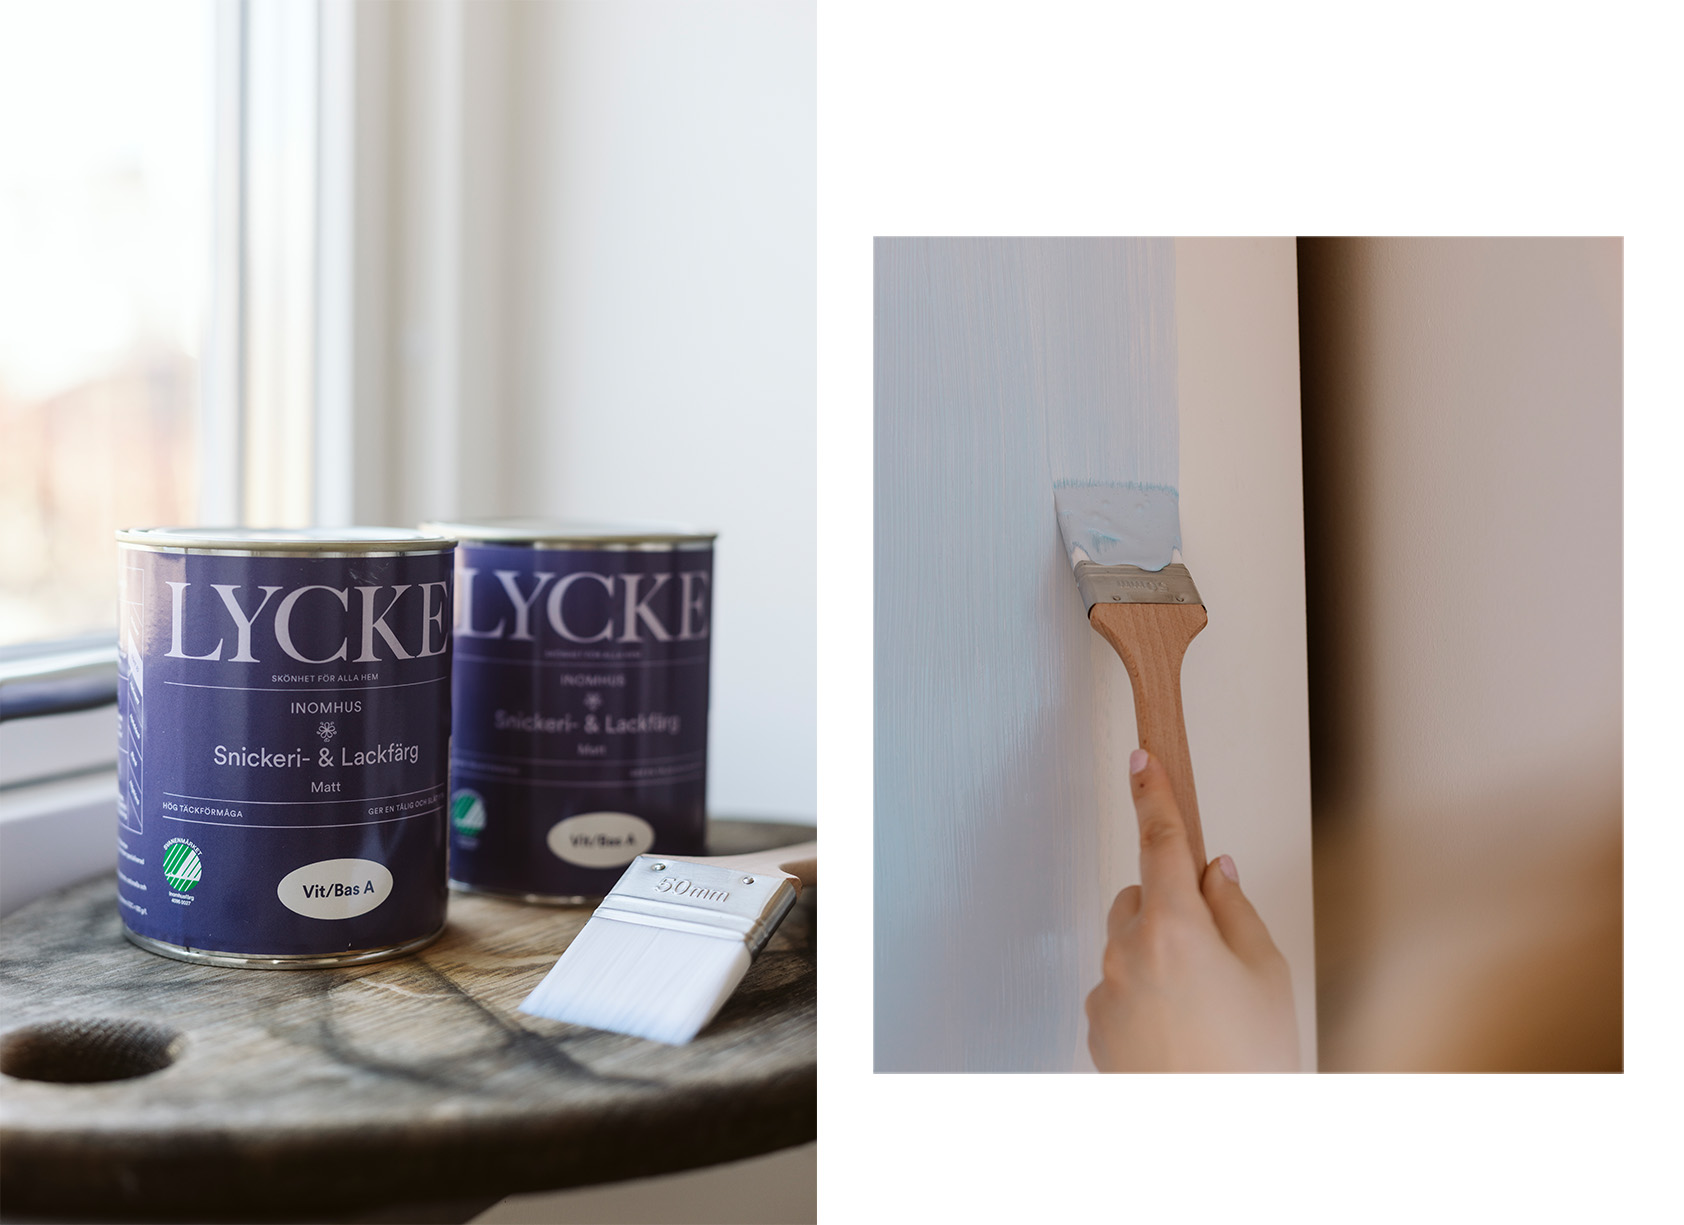
To achieve an even and durable surface, we recommend starting with a coat of primer. We use Lycke primer, which provides a good base for the lacquer paint. Allow the primer to dry completely before proceeding.
Step 4: Time to paint with lacquer paint
Now it’s time to apply the actual paint! We use Lycke lacquer paint in the beautiful colour NCS S 1020-R80B, a soft and modern blue shade that fits perfectly in both classic and contemporary homes. Apply a thin, even coat and allow it to dry. Even if the first coat looks good, we always recommend applying a second coat for a more durable and long-lasting finish.
Step 5: Insert shelves and install new knobs
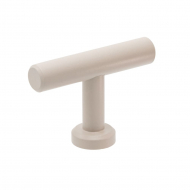
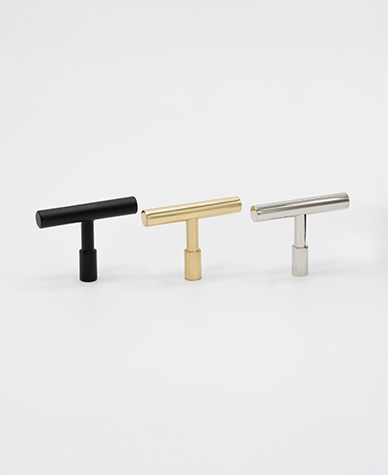
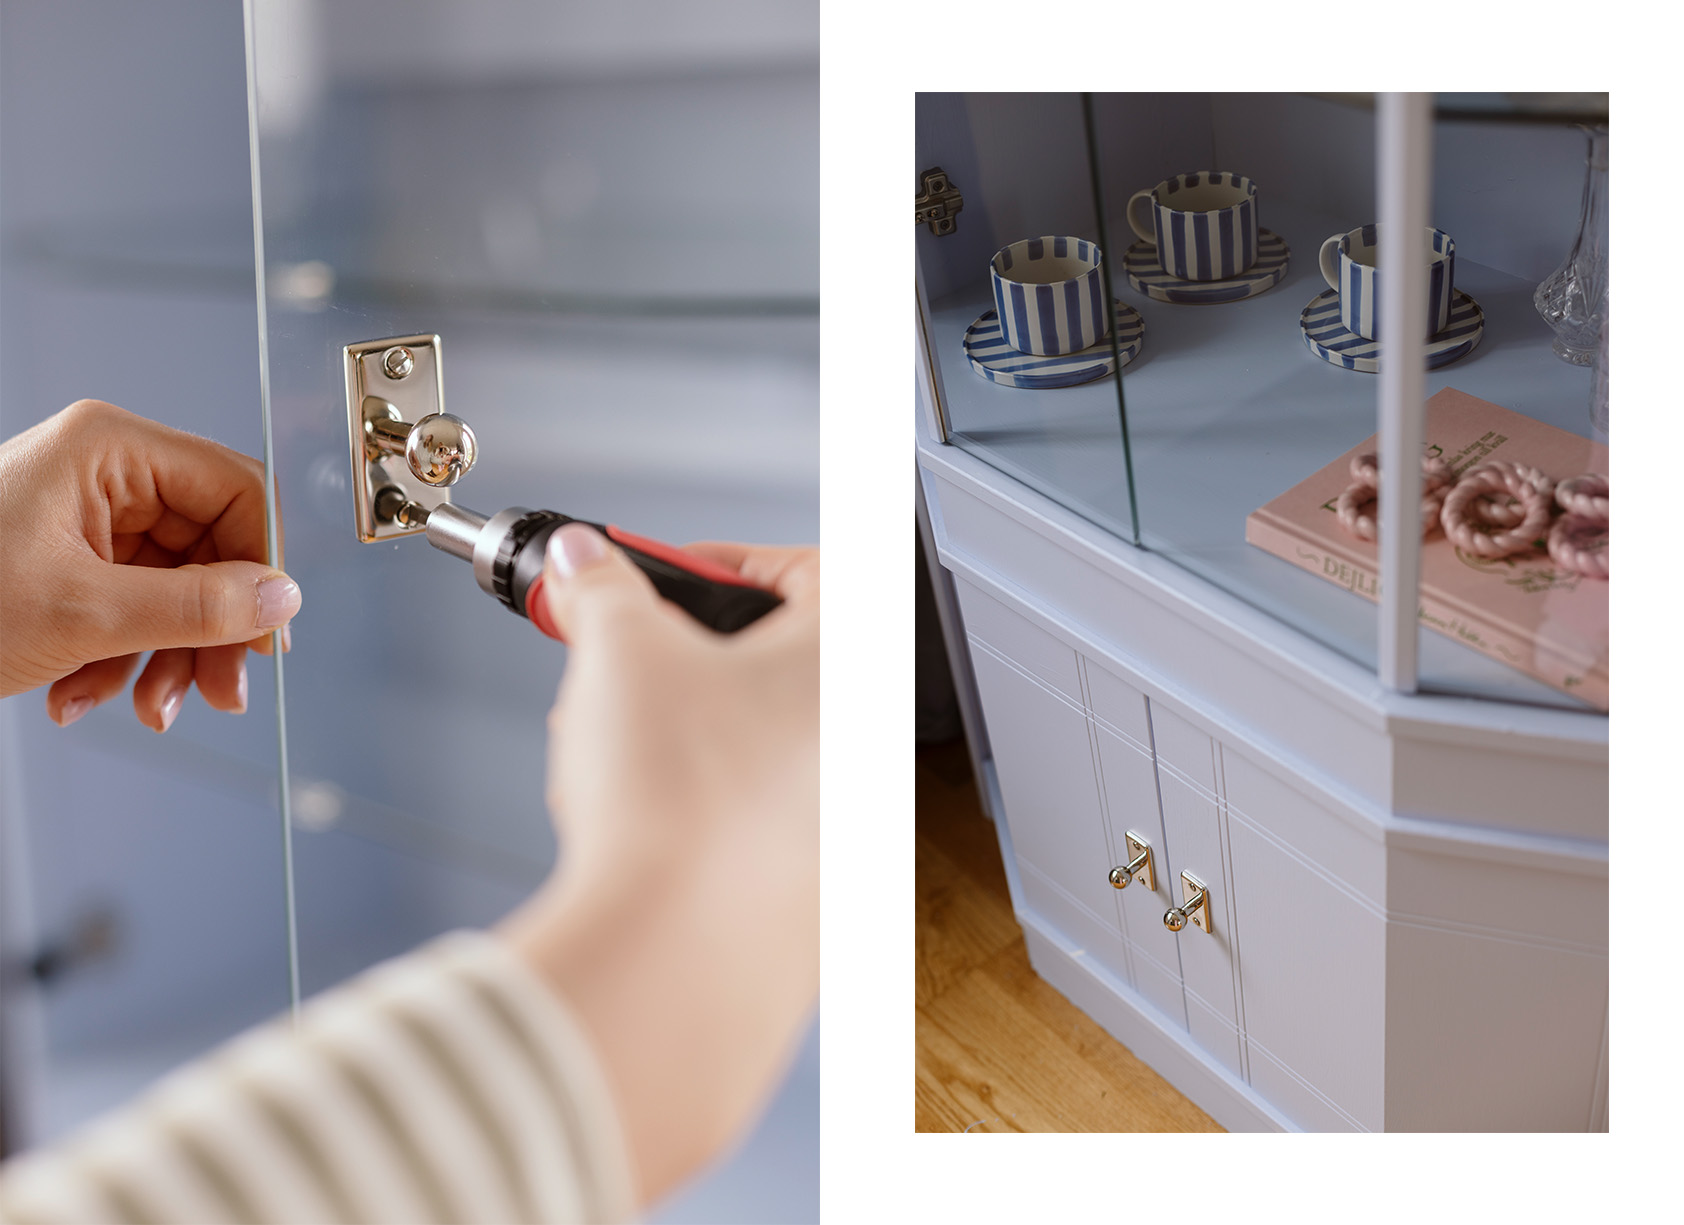
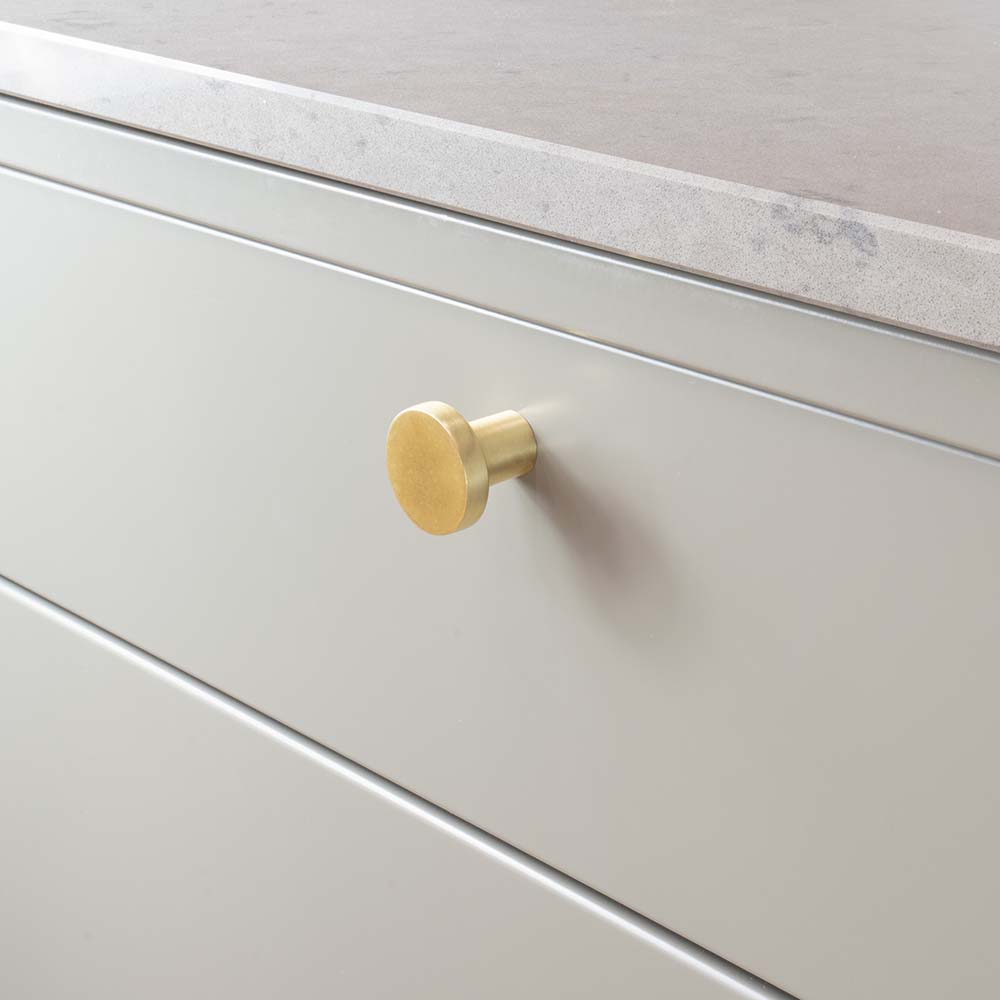
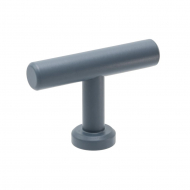
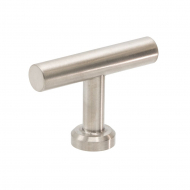
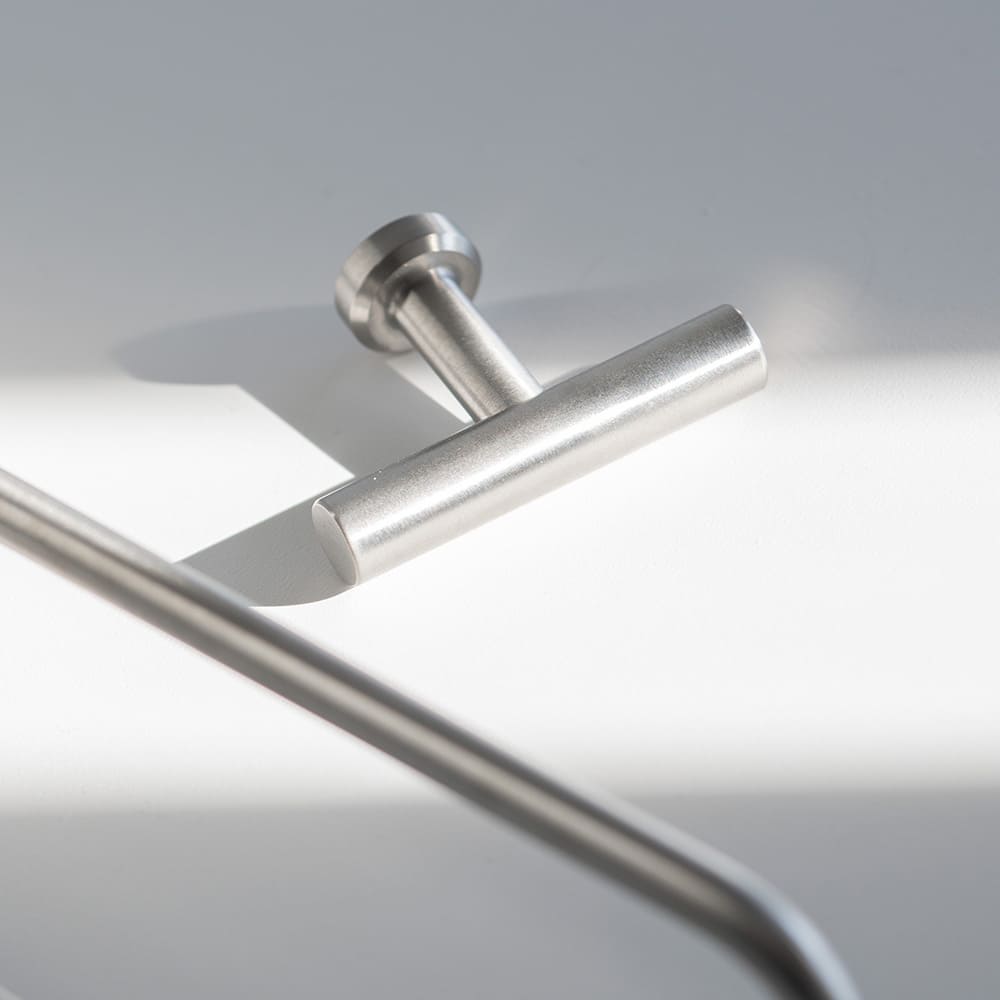
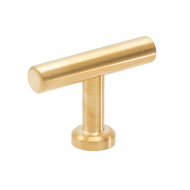
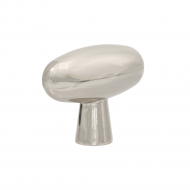
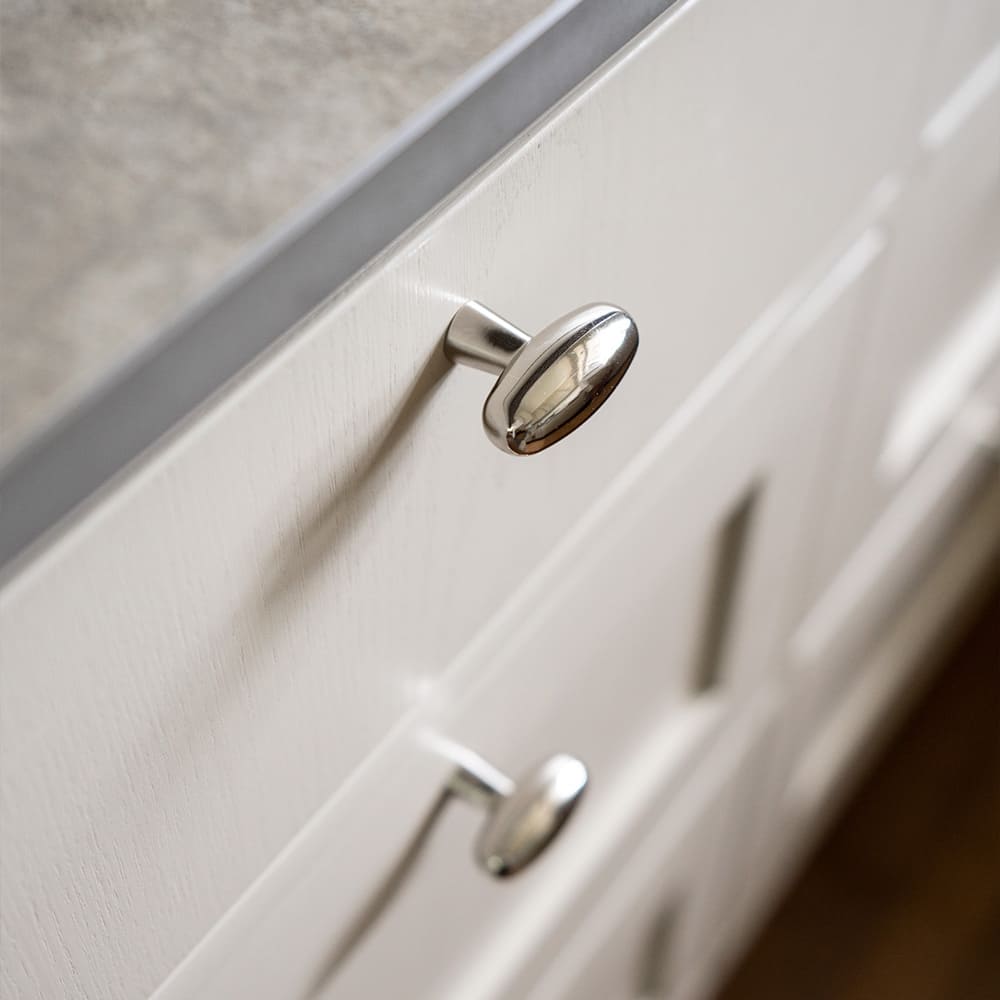
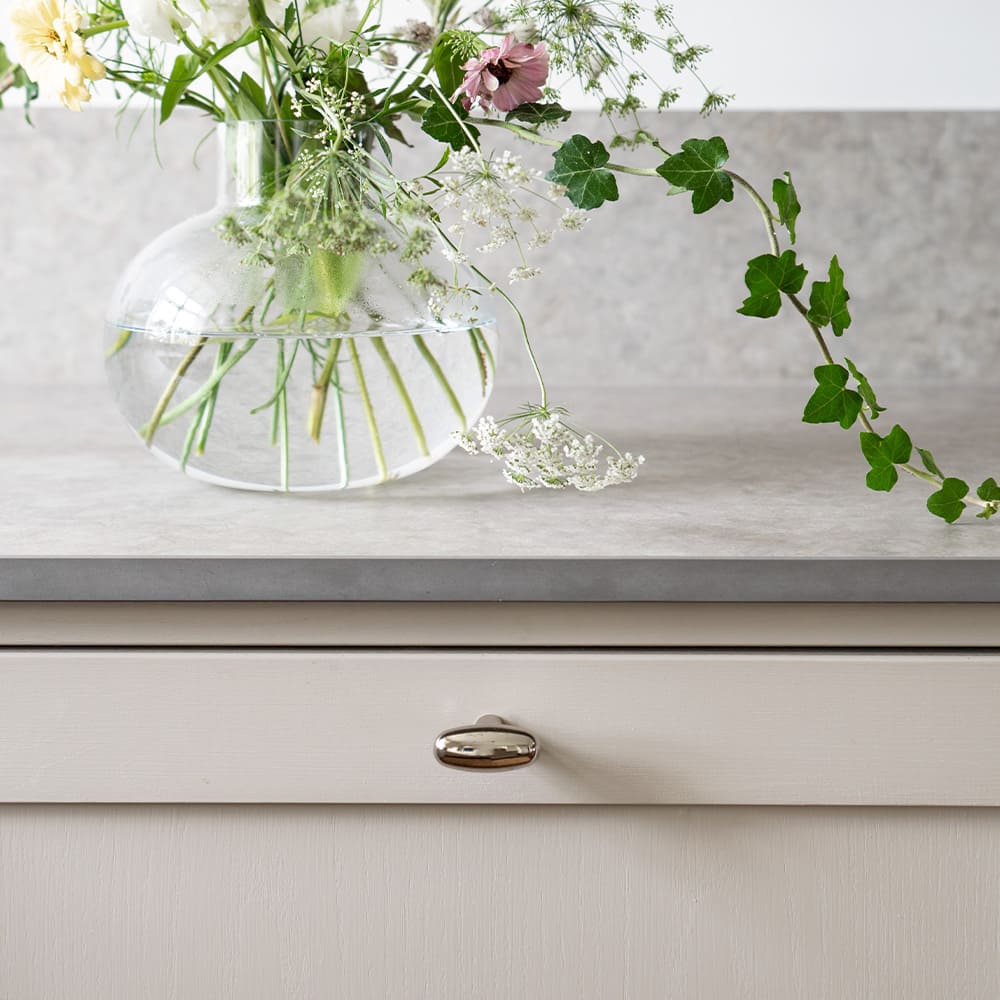
Once the paint has fully dried, it’s time for the fun finale – installing your new knobs! We’ve chosen a favourite from our range: Knob 5320. Changing the knobs is an easy but effective way to enhance the overall look of the furniture. Consider matching the colour of your knobs or handles with the rest of your decor for a cohesive look.
Tips for a successful DIY furniture project
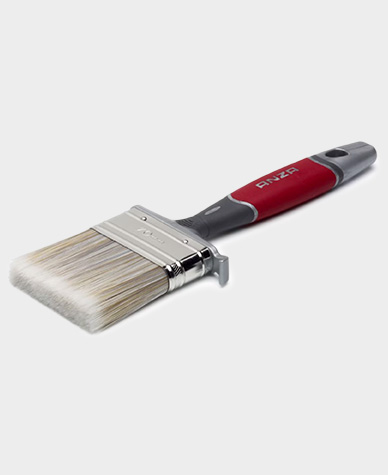
- Use the right brush or roller depending on the surface and size of the furniture.
- Lightly sand between each coat of paint for an extra smooth finish.
- Test the colour on a small area first if you are unsure about the shade.
- Be patient! Allow each coat of paint to dry thoroughly before moving on.
Painting furniture is an easy, fun, and affordable DIY project that can really make a difference in your home. Whether you want to transform an old cabinet, spruce up a dresser, or simply breathe new life into something you already own, with paint, creativity, and new knobs or handles, you'll get far.
Ready to start? Feel free to share your transformed furniture with the hashtag #beslagonline on Instagram or TikTok.
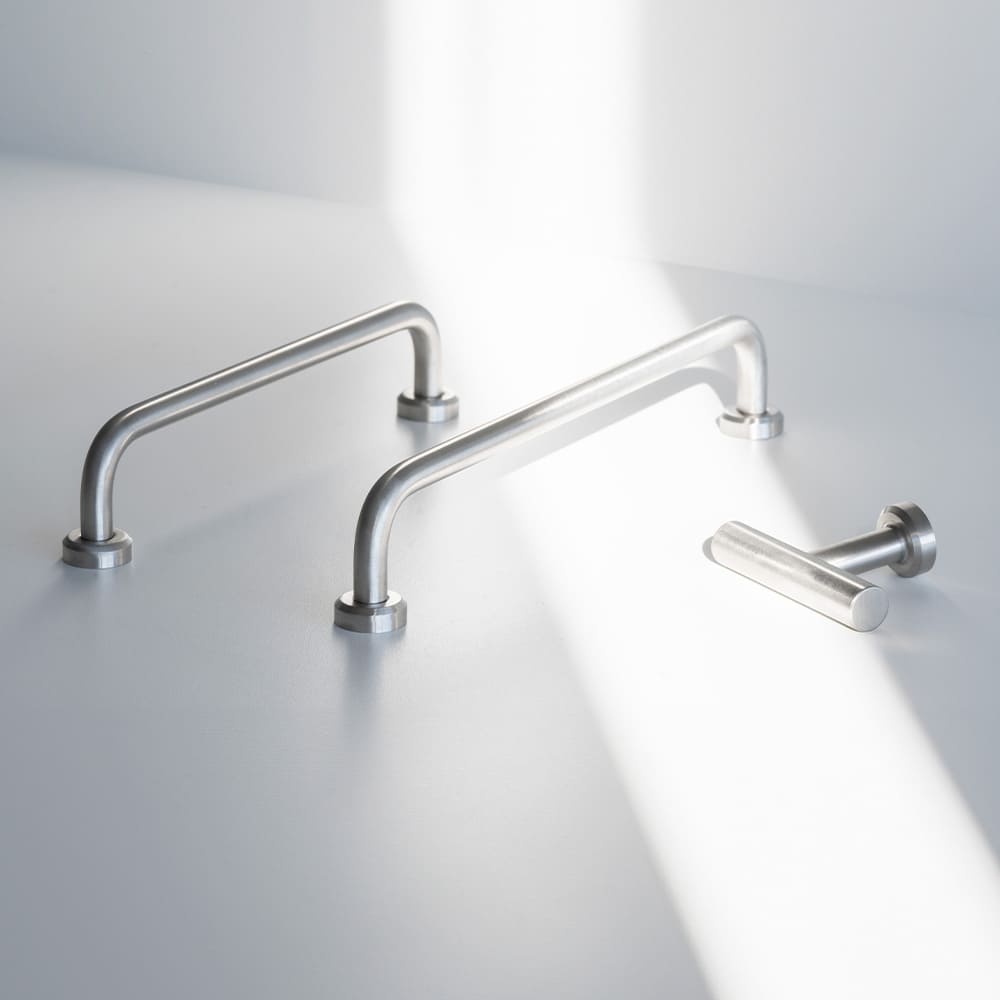
Find the right knobs for your DIY project
POPULAR


POPULAR


POPULAR


POPULAR


POPULAR


You will need:
Lycke Primer
Lycke Joinery and Lacquer Paint
Brush and Roller for Lacquer Paint
Step 1: Thoroughly Clean the Cabinet
Before you start painting, it is important to clean your old piece of furniture thoroughly. Wipe down all surfaces with a damp cloth and, if possible, use a degreasing cleaner to remove dirt, dust, and any greasy stains. This step is essential to ensure that the paint adheres properly and gives a smooth, even finish.
Step 2: Remove Old Knobs and Fill the Holes
Unscrew the old knobs or handles from the furniture. If you plan to place your new knobs in a different spot than the old ones, you will need to fill the holes with wood filler. Once the filler has dried, sand the surface smooth using fine-grit sandpaper. This will ensure an even surface, perfectly prepared for the next step.
Step 3: Prime with Undercoat for the Best Results
To achieve a smooth and durable surface, we recommend starting by applying a coat of primer. We are using Lycke primer, which provides an excellent base for the lacquer paint. Allow the primer to dry completely before moving on to the next step.
Step 4: Time to Paint with Lacquer Paint
Now it's time to apply the actual paint! We are using Lycke lacquer paint in the beautiful shade NCS S 1020-R80B — a soft and modern blue hue that fits perfectly in both classic and contemporary homes. Paint a thin, even coat and allow it to dry. Even if the first layer looks good, we always recommend applying a second coat for a fully covering and durable finish.
Step 5: Insert the Shelves and Attach the New Knobs
Once the paint has completely dried, it is time for the fun final step, attaching your new knobs! We have chosen a favourite from our collection: Knob 5320. Changing the knobs is a simple yet effective way to enhance the overall look of your furniture. Remember to match the colour of your knobs or handles with your other furnishings for a cohesive and stylish feel.
Tips for Succeeding with Your DIY Furniture Project
- Use the right brush or roller depending on the surface and size of the furniture.
- Lightly sand between each coat of paint for an extra smooth finish.
- Test the colour on a small area first if you are unsure about the shade.
- Be patient! Let each coat dry thoroughly before moving on.
Painting furniture is a simple, fun, and affordable DIY project that can truly make a difference in your home. Whether you want to transform an old cabinet, refresh a chest of drawers, or simply breathe new life into something you already have, with a splash of paint, a bit of imagination, and some new knobs or handles, you can go a long way. Ready to get started? Feel free to share your transformed piece with the hashtag #beslagonline on Instagram or TikTok.
Find the Perfect Knobs for Your DIY Project
POPULAR
POPULAR
POPULAR
POPULAR
POPULAR